Flows are the main way of communicating in Assembly. A Flow is a great way to gather information, interact with your team, remain social, and enhance the culture within your organization.
There are a variety of different use cases for flows. You can gather some ideas below:
1.1 with your manager or peer.
Culture survey.
Sharing images of your furry friends!
A repository to gather and collect feedback/information from your team.
To create a flow, you can follow the following steps:
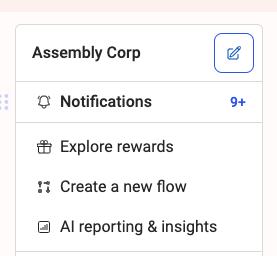
Once logged into your Assembly account, you can locate the "Create New Flow" button on your lefthand side bar. You can also locate Flows via the top of your home page in the navigation bar. If navigating from the top bar, be sure to select the button that looks like a flowing square.

2. When creating a new flow, you can choose from a variety of pre-built templates that are available to you, or you can build one from scratch!
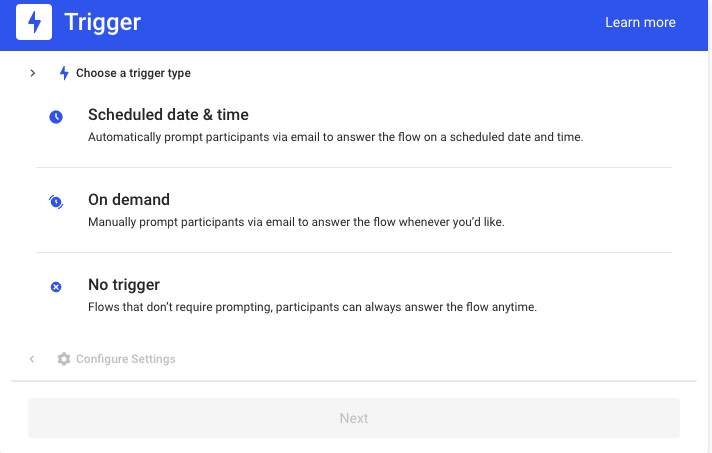
3. When building a flow from scratch, you are prompted to follow a few steps in the set up process. The first being Trigger. You can schedule a date and time to remind participants to post in the flow by X date and time. You can also choose on demand, allowing you to ask participants to post in the flow whenever you'd like. Or you can choose no Trigger, allowing participants to post as often or whenever they'd like.
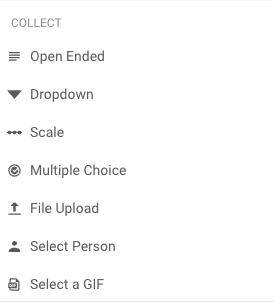
4. Once you have selected the proper Trigger for your flow, you then will be prompted to build out your Content Blocks. You can choose from open ended questions, a dropdown selection, a scale, multiple choice, and more! You can view the options below. Once selected, be sure to follow the prompts on what type of material may be needed for the Content Blocks.
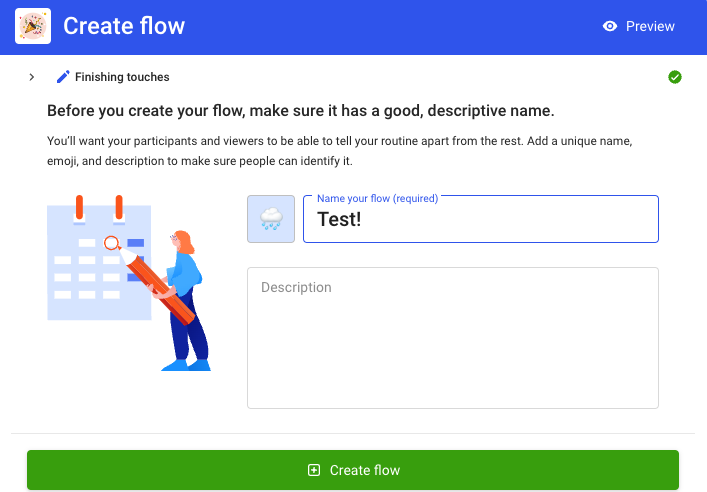
5. You're almost done! Now that you have built out your Content Blocks, you are ready to officially create your flow. In the final steps, you will be asked to name the flow, and add an emoji to the title. Feel free to throw in a description if you feel necessary.
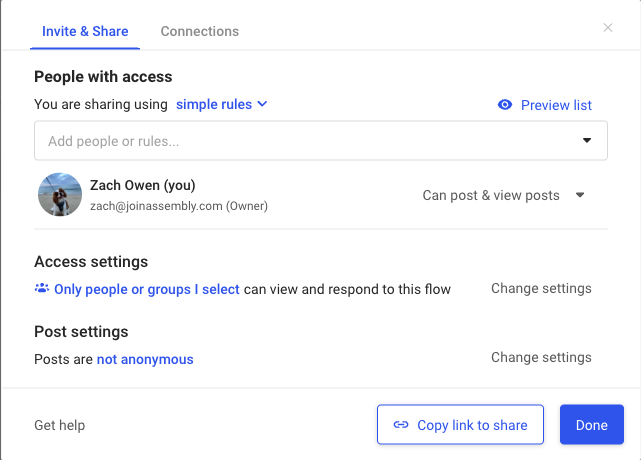
6. All done! Your Flow is ready to be shared out with the applicable team or individual(s)! Feel free to utilize the sharing settings to ensure that the Flow is shared properly. If not ready to share the flow, you can always ensure no one is selected and it will remain as something that only you can view. You can always go back and edit the Flow, and who it is shared with, at any time.
